User Management
Technical Data / Users
The Users function is only available if the connected user has access rights to Technical Data.
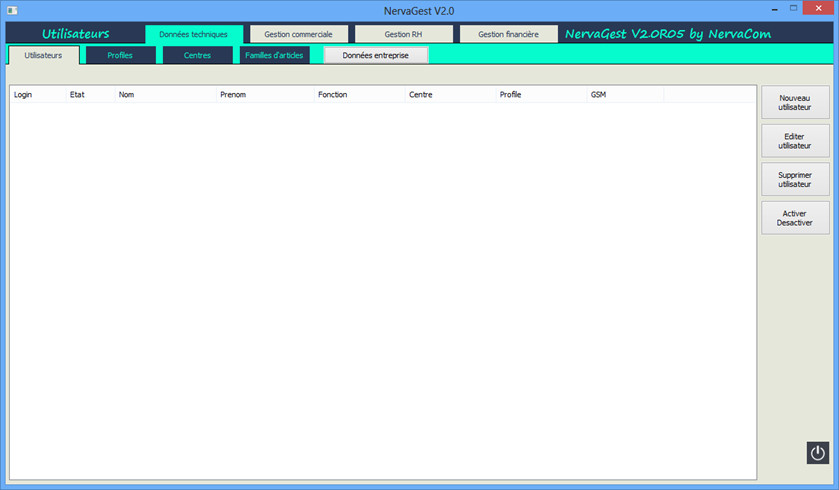
The Users window allows:
• to manage users authorized to connect to the application and to the data of a company in the case of multi-company.
• to avoid having to set up users already registered for other software, to retrieve or transfer these user profiles.
• to send a message to users.
• Add a user.
• Set up a user profile.
• Define restrictions for each function of the software.
• View / Edit a user profile.
• Delete a user.
Add a user.
Technical Data / Users / New User
To add a user, click on the [New User] button on the right toolbar.
A blank user form will appear with 4 tabs: Identification, Civil Status, Assignment and Contract, and Pay.
Identification:
Civil Status:
Assignment and Contract:
Pay:

Set up a user profile.
Install the MySQL ODBC driver on the machine where NervaGest is installed.
For this, you need to access the MySQL ODBC download page: dev.mysql.com/downloads/connector/odbc/.
Download the "MSI installer" in 32-bit version and not the 64-bit version, even if your Windows is 64-bit, and install it.
Define restrictions for each function of the software.
Open the ODBC Data Source Administrator (32-bit):
For 32-bit Windows:
Go to "Control Panel", choose "Administrative Tools" and then "ODBC Data Sources".
For 64-bit Windows:
Run: C:\Windows\SysWOW64\odbcad32.exe
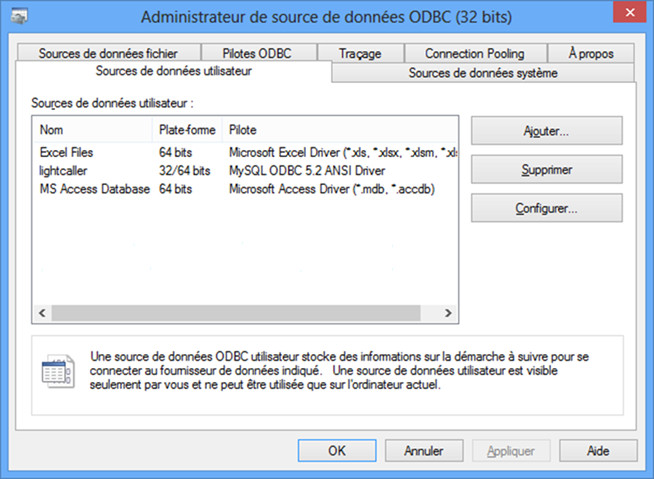
Add a new user data source by choosing the Mysql ODBC Unicode driver:
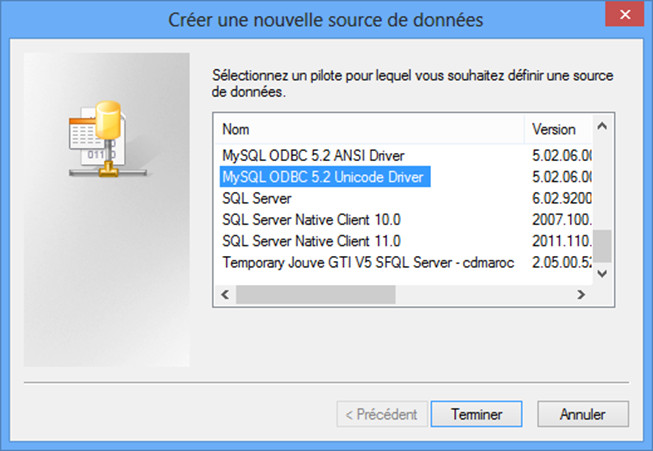
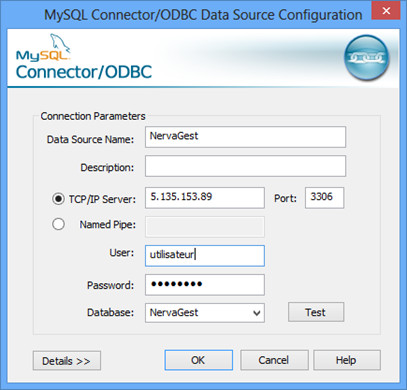
You must name the new connection "NervaGest", which is the name the application will look for by default. It is possible to use another name or even create several connections, one for each company in the case of a multi-company installation. Consult the advanced installation options or your provider.
Enter the IP address of your Mysql server, if it is on the same machine, use the local loop IP address: 127.0.0.1.
In the user and password fields, put those entered in the access rights section of "database configuration".
From the Database dropdown list, you must choose the database created in the "database configuration" section.
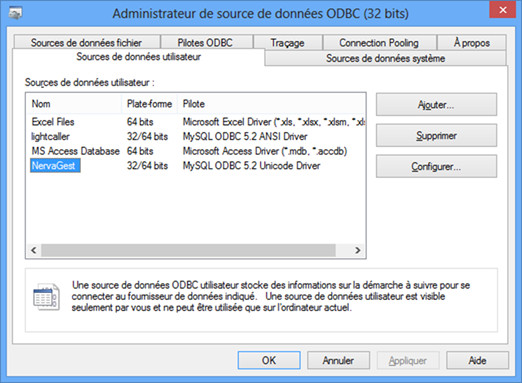
Once validated, you obtain the "user data source" NervaGest created.
Consult / Modify a user profile.
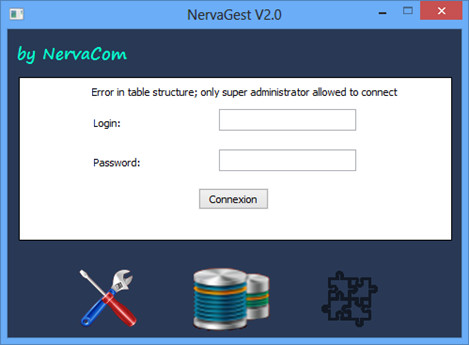
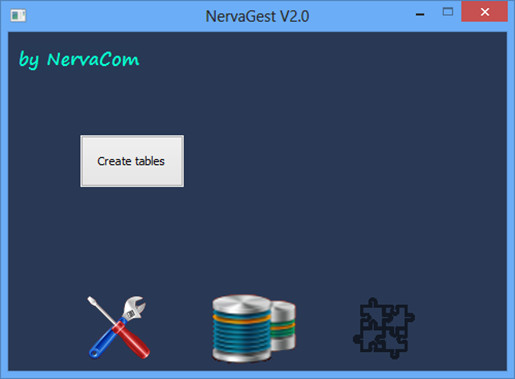
Run NervaGest.
You should have the database connection logo active. At this level, log in as a superuser to create the database structure.
For the Demo version, log in with:
User: root
Password: 123456
Press the "Create Tables" button, this will allow you to create all the tables necessary for NervaGest to function. This action takes a few seconds, depending on the speed of the connection with the database.
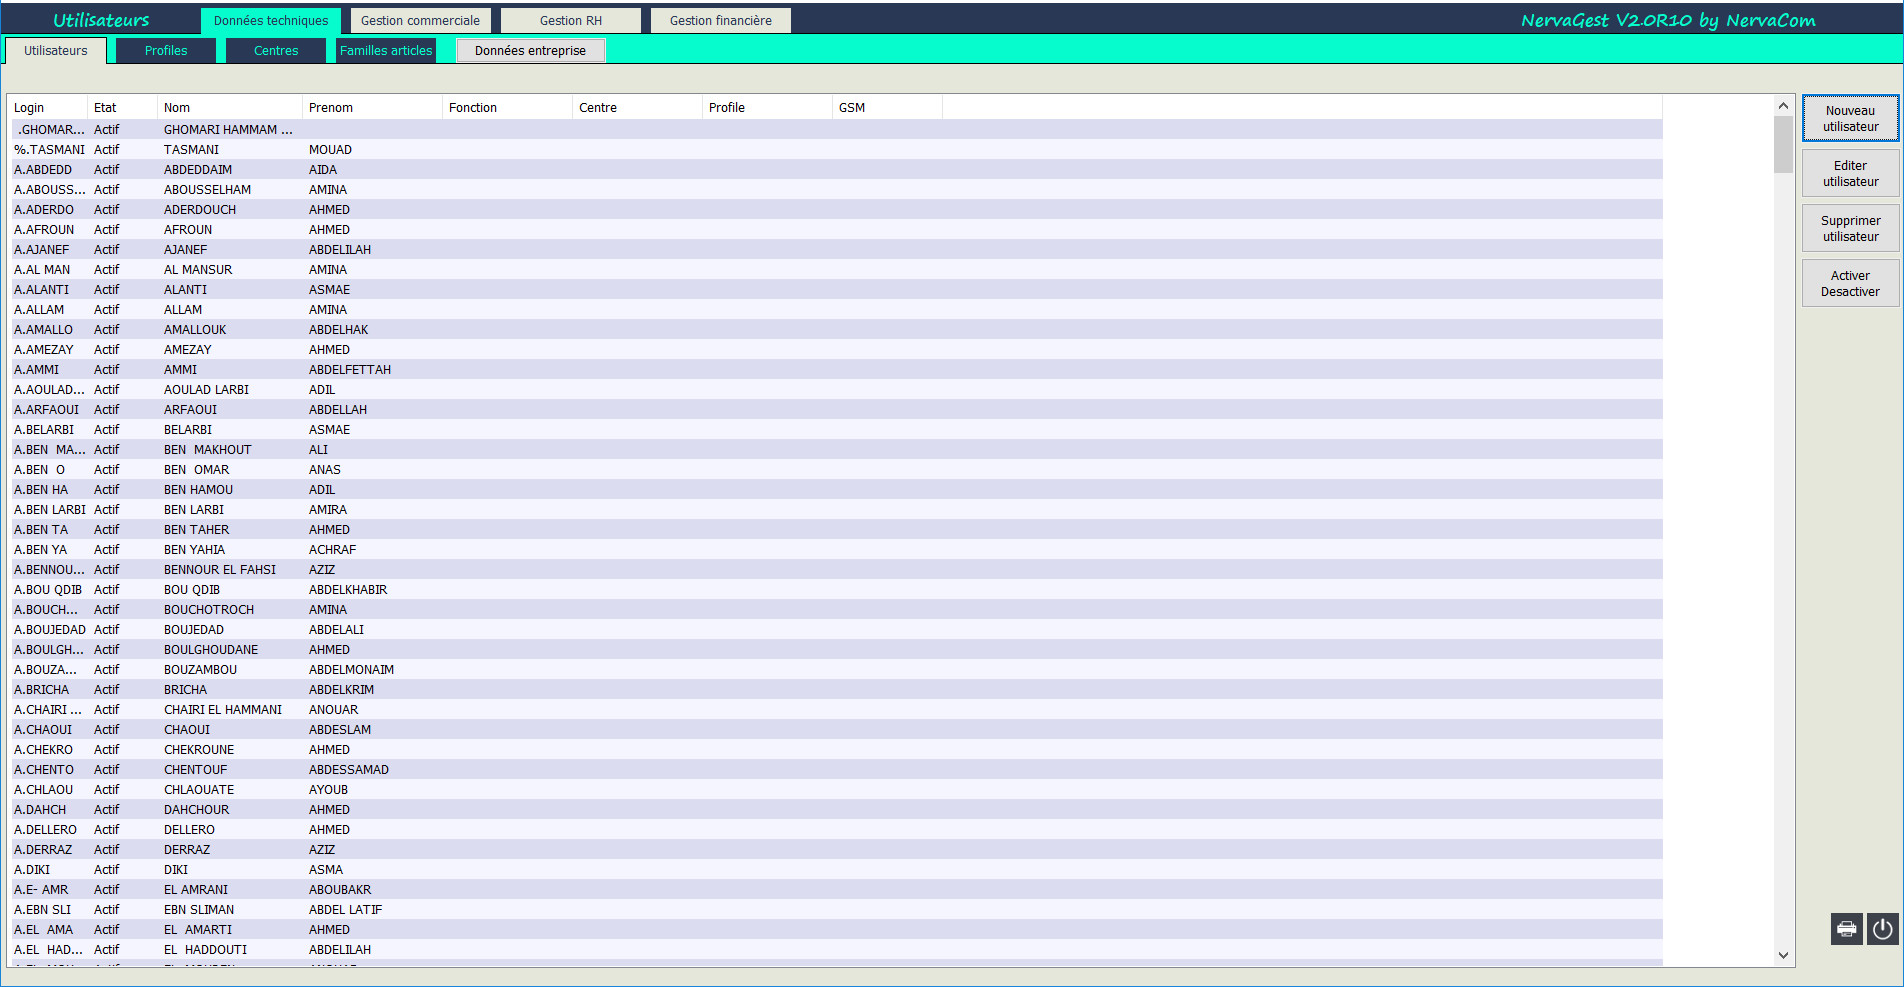
Once finished you obtain the following screen:
At this stage, you can see that the table structure logo is active and the application is ready to be used.
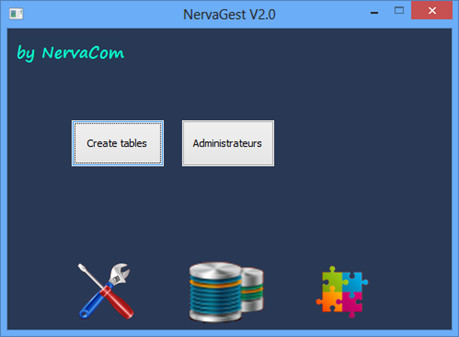
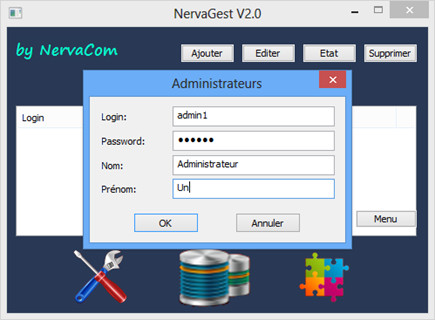
Create one or more administrators. Administrators are users who have access to all options and can create other users and can only be deactivated by the super administrator "root".
Once the administrator is created, your NervaGest application is ready.
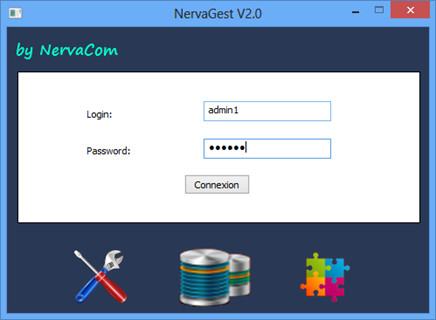
Close the application, run it and log in with the administrator you just created.
Delete a user
For usage, refer to the user manual.
Nervacom thanks you for your trust.